

TARDIS

What
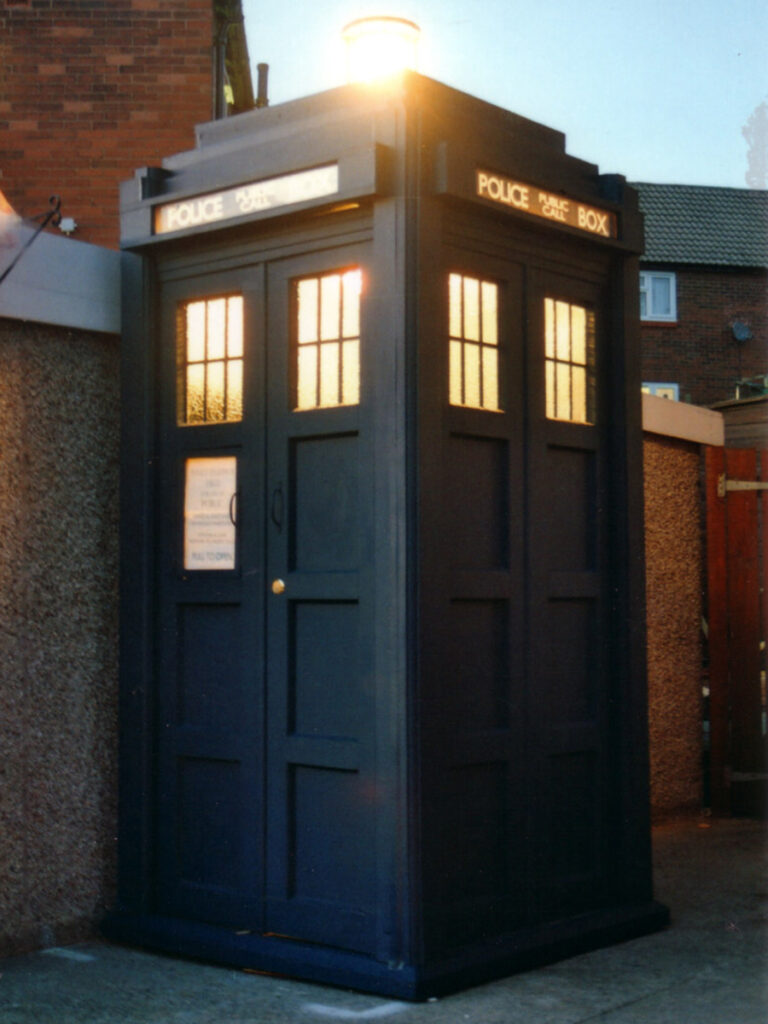
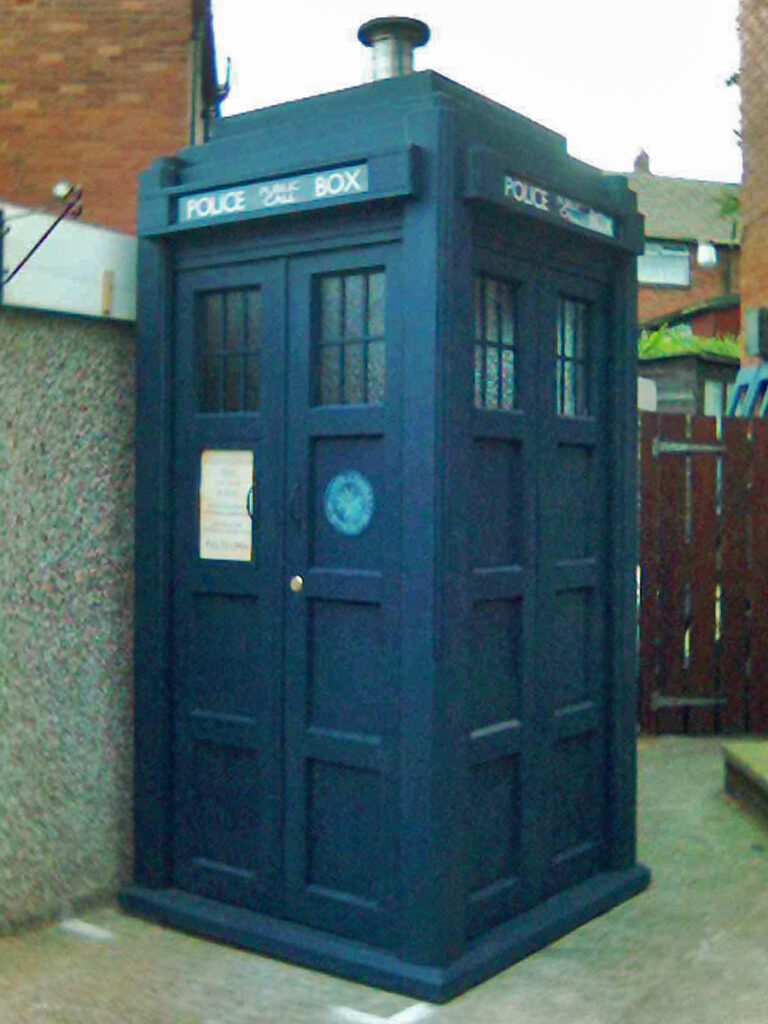
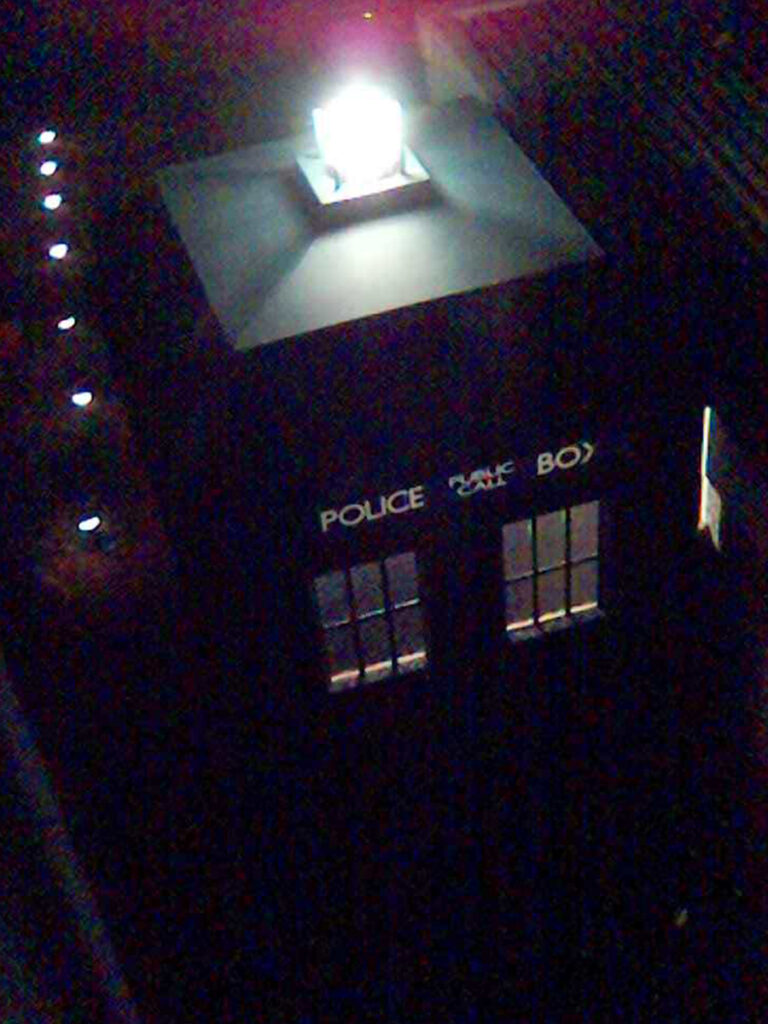
A full size replica of the Doctor’s time machine spacecraft from Doctor Who.
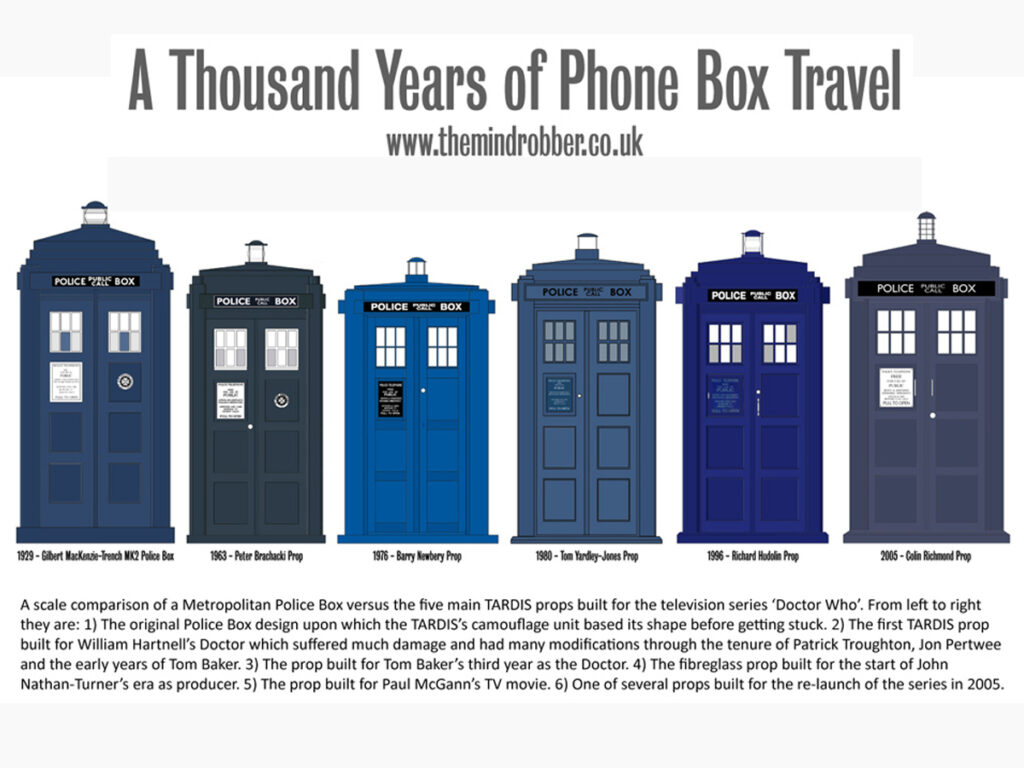
TARDIS is an acronym for “Time And Relative Dimension In Space”. The idea from the 1963 TV production was that the craft’s cloaking device got stuck on a form it had taken and couldn’t be fixed. It was quite a novel, clever and cheap idea that created an icon of science fiction.
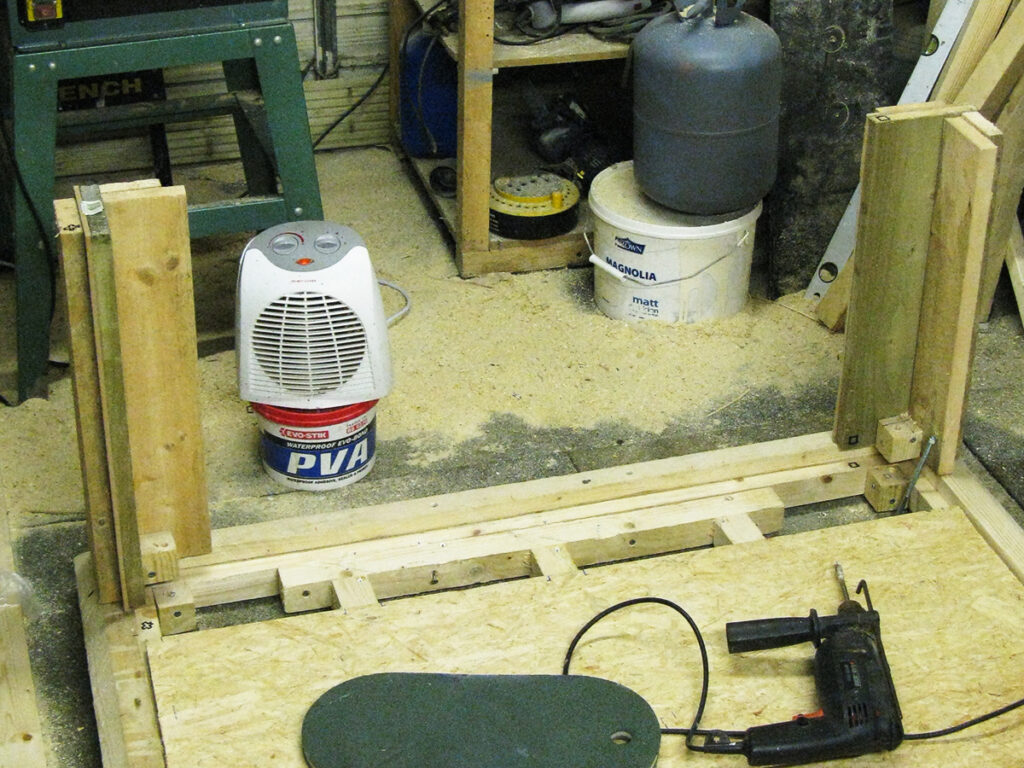
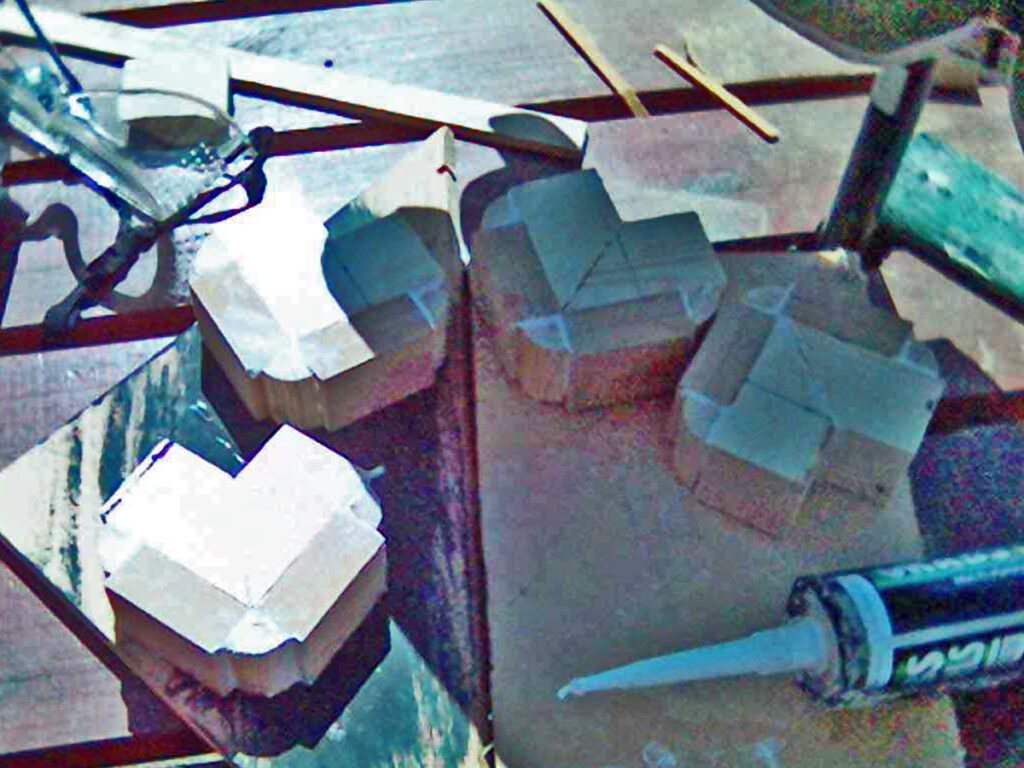
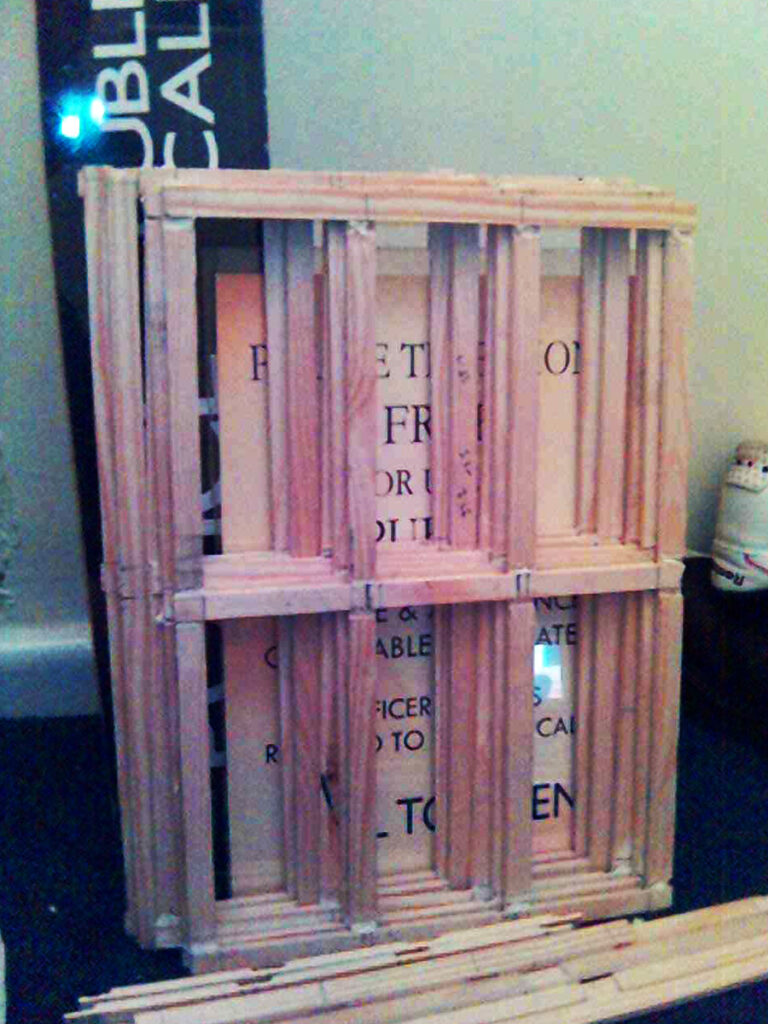
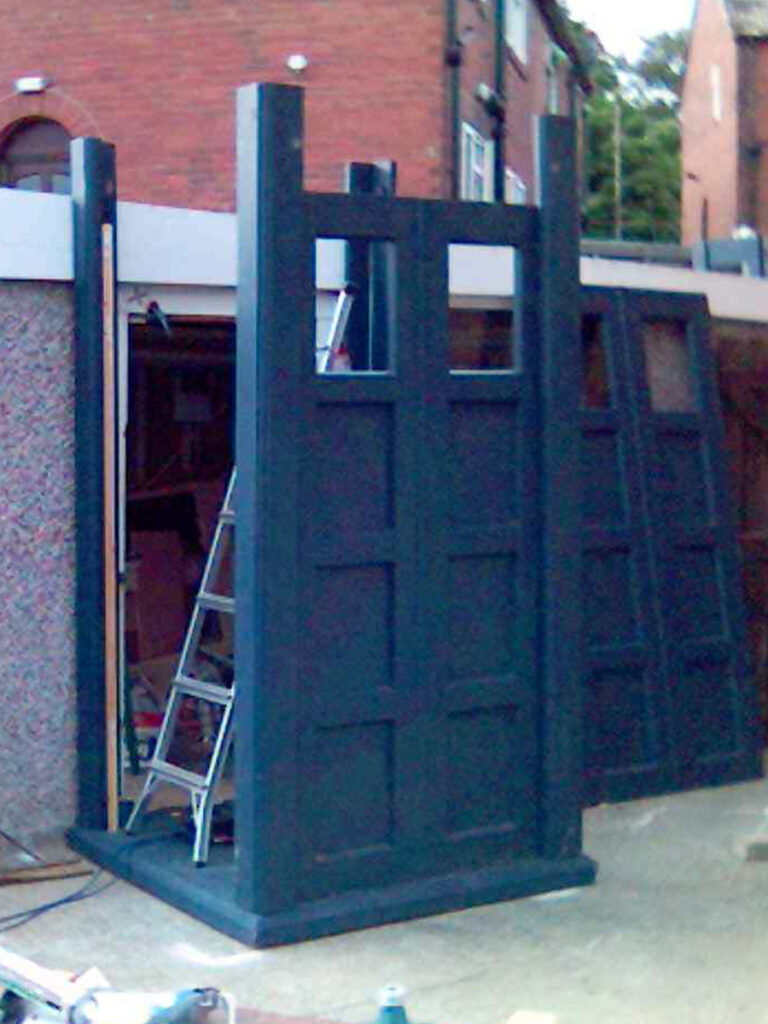
There was much more work involved on this project than the photos I took show, but I didn’t document everything as well then, and it would also be quite boring to see a lot more.
Why
The show was being revived in 2005 after a long hiatus and I liked the TARDIS and the idea of building a “Time Machine”. I was newly single again so the time was right to set about making one.
Unfortunately, “Doctor Who” as a TV show was and still is absolutely dreadful rubbish. Not even enjoying his attractive female companions was enough for me to keep watching it.
When
Summer 2005.


Development & Progress


Later / Current Status
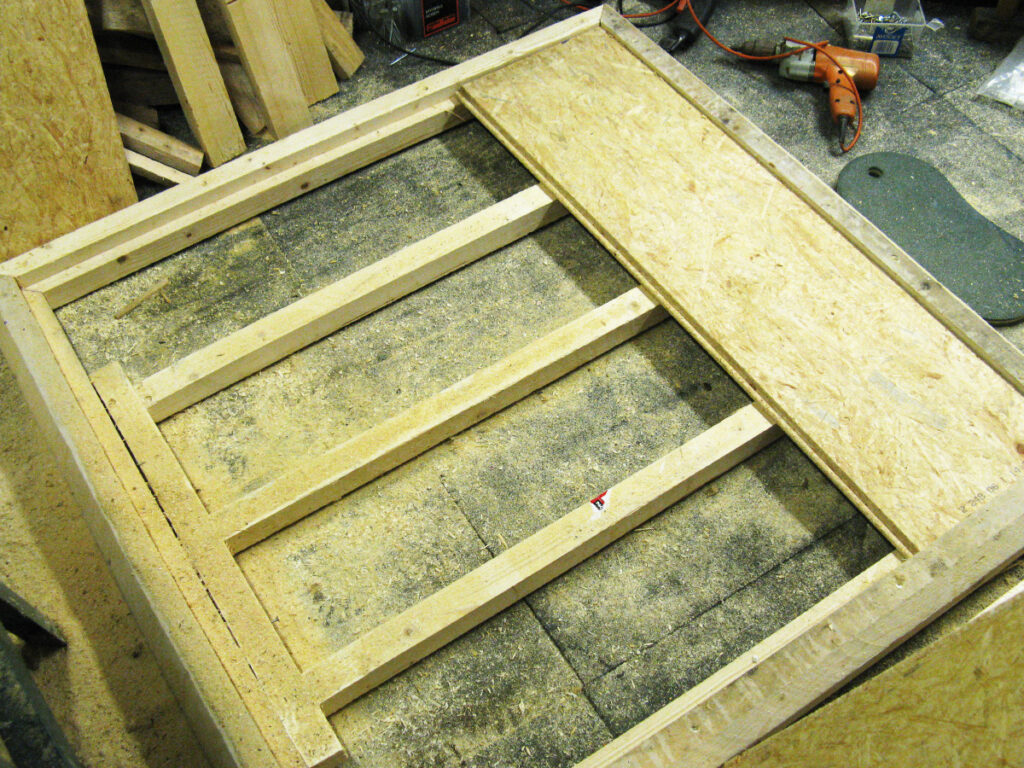
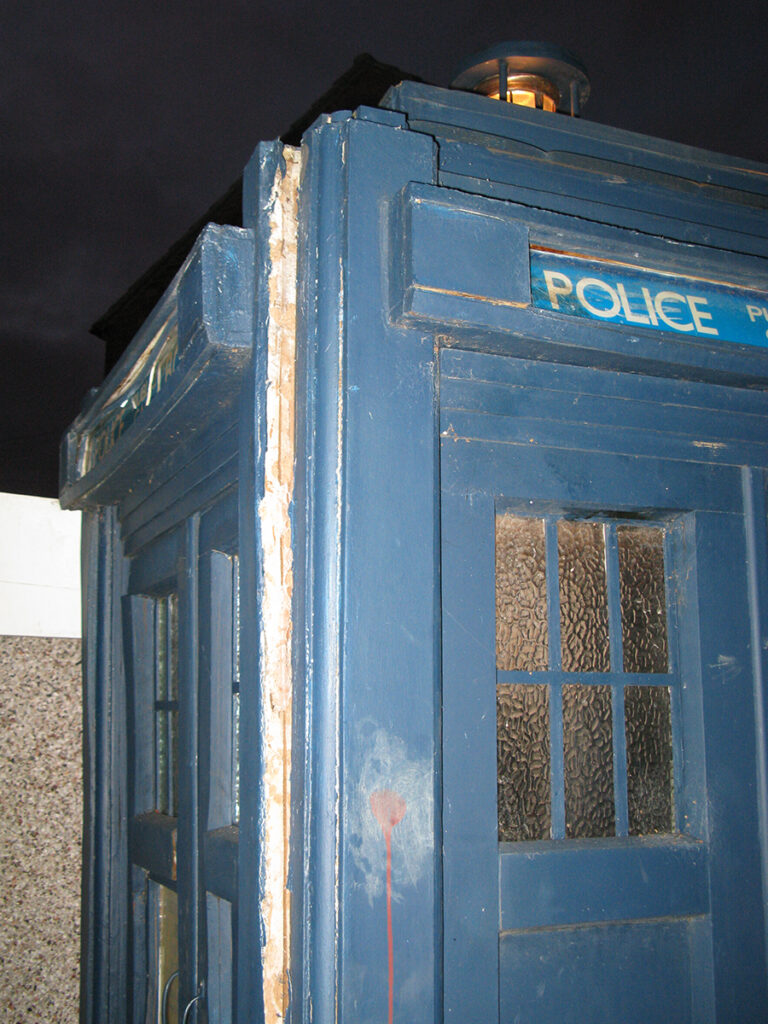
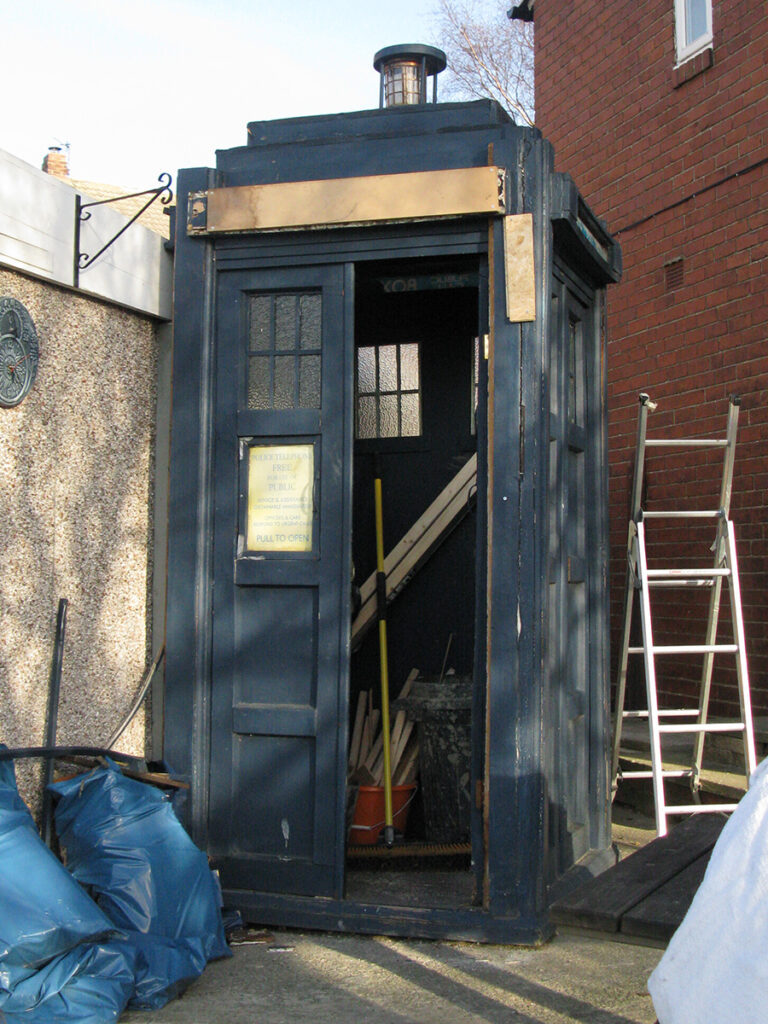
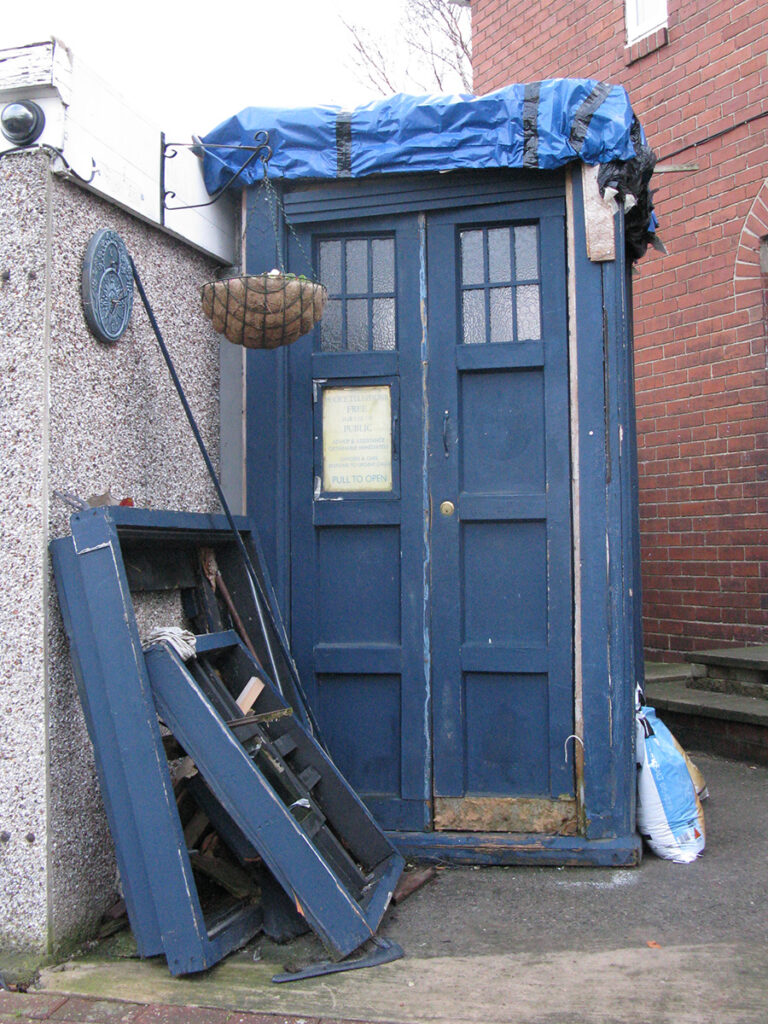
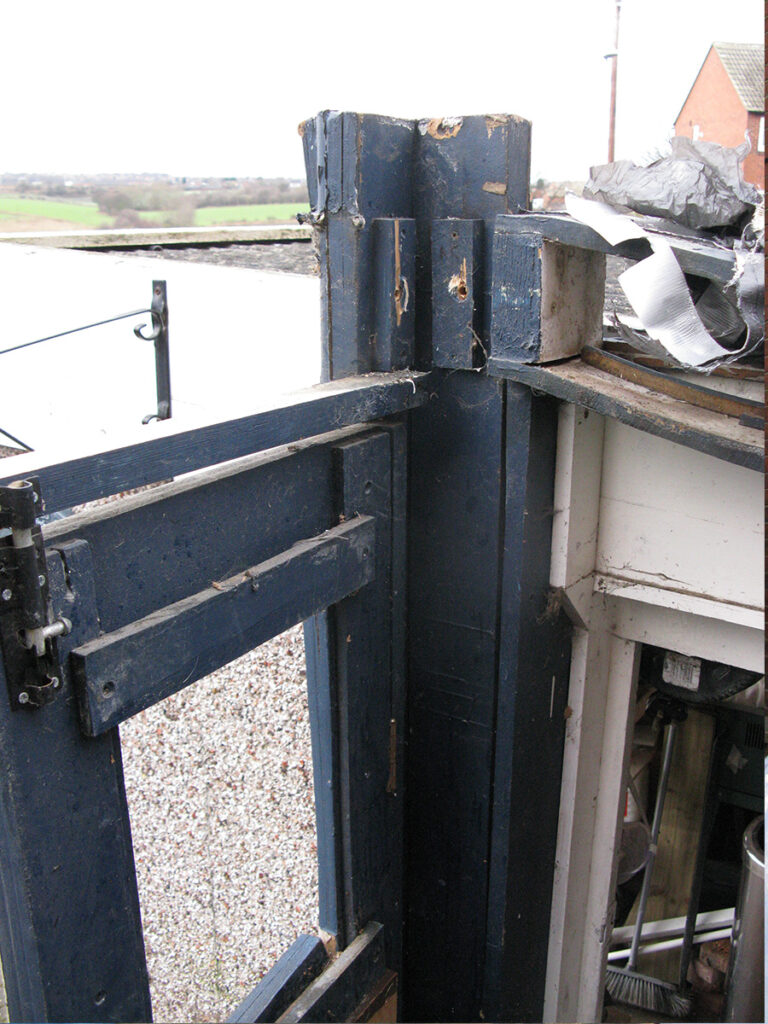
My TARDIS had largely been made from MDF which is just glorified cardboard. I thought treating it with waterproof sealant and paint was going to enough to protect it but I was massively wrong and foolish to even have thought that might be possible. The great British weather started to affect the time machine spacecraft and problems began to appear. They were manageable at first but swelling and other damage took hold.
By June 2009 I’d decided to build a whole new TARDIS 2.0 and not even use significant parts that were still good. I got reasonably far with it, but stalled when trying to find 25mm timber that was quite critical to the dimensions of the design. For the first one I’d glued together sheets of 12mm MDF and although that was less than ideal, it gave suitable sheets of timber that I needed.
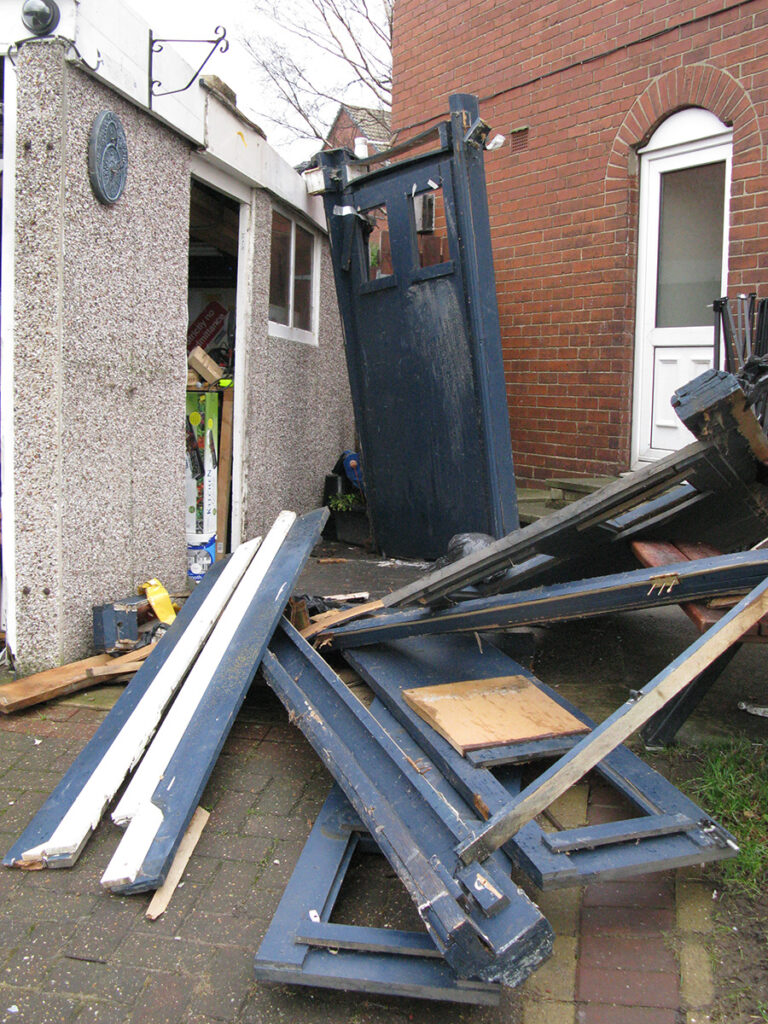
The TARDIS met it’s fate in February 2010 but I’d had a few years of fun and enjoyment from it. I was glad to have the light airy space back instead of a hulking ugly lump. Occasionally I miss the iconic structure. Keeping the iconic street furniture theme going, I bought an original K6 Telephone Box, in 2013 as I’d always wanted one of these too. I couldn’t say I’d made it myself, but it did still require a lot of work.
Distressing images ahead…

Thoughts on Doctor Who
Firstly, I’d have to admit that I’ve not properly watched Doctor Who for years, but I suspect that if I did actually watch it, I’d probably have a lot more to whinge about than what’s here already.
A show with all of time and space at its disposal should be one of the most imaginative television experiences ever conceived. Instead, it’s a repetitive, camp romp plagued by shoddy aesthetics, unambitious storytelling, and an apparent tiresome fixation on Victorian London, cheap space stations, and present-day Earth. For a series that claims to be limitless, it is astonishingly samey.
At its core, Doctor Who is little more than supposedly high-stakes situations that are really just mild peril wrapped in campy melodrama. Each story follows the same formula: the Doctor and companions arrive, encounter a major problem, get put at risk themselves, and then quickly resolve it—probably with a predictable speech about humanity. The show’s reluctance to take risks results in sanitised danger and superficial social commentary. It could be gritty, profound, or even high-concept time travel sci-fi but insists on dumbing itself down to be almost aggressively “family-friendly.”
Why not change the tune a bit? Instead of constant peril, imagine episodes where the Doctor simply goes time-sightseeing. They could explore the wonders of ancient civilizations, witness transformative moments in history, or even delve into alien cultures without the constant need for some threat to Earth or the universe. Such an approach would diversify the show and make better use of its time and space travel premise. How about episodes where the Doctor witnesses someone else’s story, stepping back and letting the narrative focus on entirely different characters? This kind of experimental storytelling would breathe life into the tired formula.
The show’s dependence on the same small pool of writers keeps it in a creative rut. Why not bring in talent from historical dramas or thrillers for fresh perspectives? Imagine if Doctor Who piggybacked off other period dramas, in guerrilla-style filming, borrowing their lavish sets and costumes to elevate its aesthetic. Even a fleeting use of those resources would improve the show’s stale visuals and repetitive tropes. Although unlikely for many reasons, I’d love to see Doctor Who adopt a guerrilla style of filmmaking, slipping into the sets and extras of other productions for brief moments. Or perhaps they could integrate real historical footage to add authenticity and variety.
Another major flaw these days is the over-the-top orchestral score. The music drowns every moment in melodrama, demanding the audience feel something instead of letting the writing and acting speak for themselves. There are too many swelling symphonies even for subtle moments. It’s too loud, grand and desperate for validation.
Finally, the campiness that defines Doctor Who often crosses into outright ridiculousness. The tone lurches between slapstick comedy and attempts at serious drama, making it hard to take the show seriously. So many of the aliens fall into the “humanoid with a few latex bumps on their face” category, which feels uninspired and cheap.
Ultimately, Doctor Who squanders its potential at every turn. It could be a huge exploration of humanity’s place in the universe or a genuinely thrilling sci-fi adventure. Instead, it settles for being an episodic fluff piece that caters to the lowest common denominator. With better writing, more ambitious storytelling, and a willingness to embrace complexity, Doctor Who could be great and still remain family-friendly. As it stands, it’s a UK-centric relic clinging to outdated formulas, achieving little more than mediocrity.
Unfortunately, people lap it up as if it’s the greatest thing ever, because they don’t really know or care how truly awesome it could actually be.
As a device, the TARDIS is fantastic in its form and reason for being that way. That should never change.
I WANT to love Doctor Who. But it’s just so extremely unwatchable for me.