

Bottle Top Logo
What
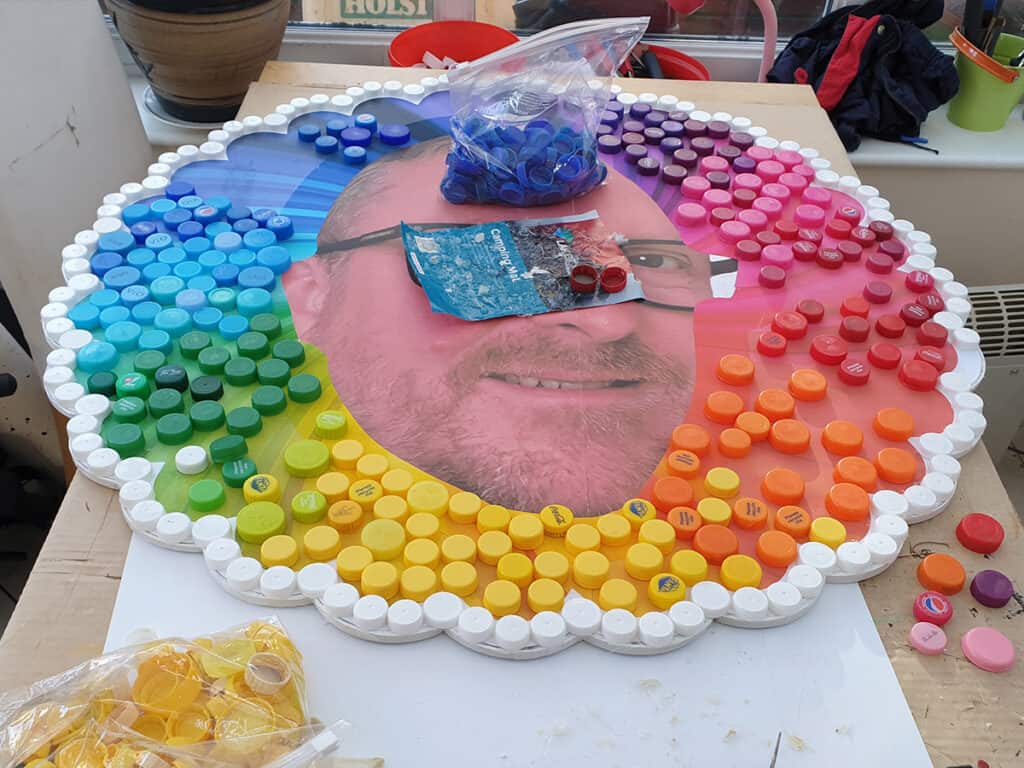
A 1 metre diameter version of my personal logo with the spectrum background recreated with 557 plastic bottle tops.
When
Briefly in December 2022 but mostly January 2023.
Why
I can’t quite remember exactly why I decided I should do this. I think it was probably only very shortly before I began it in December 2022. I’m only typing this immediately after finishing it, so perhaps I should recall it better. I think I wondered what it would look like, and there was really only one way to find out.
Development & Progress
Current Status
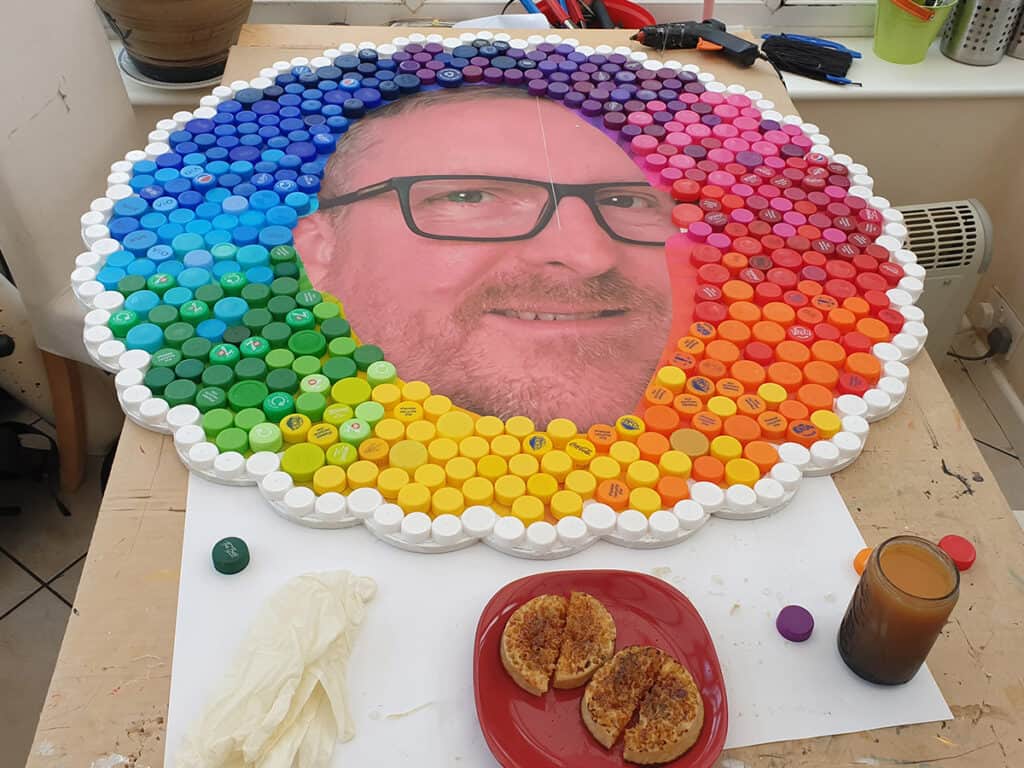
The 1-metre wide logo featuring my massive head was above my bed as if I’m some sort of rampant narcissist. Well, it had to go somewhere, and that was an empty space I had.
The logo isn’t exactly the same as the original in some ways but I quite like it even if it’s just another silly pointless artwork project.
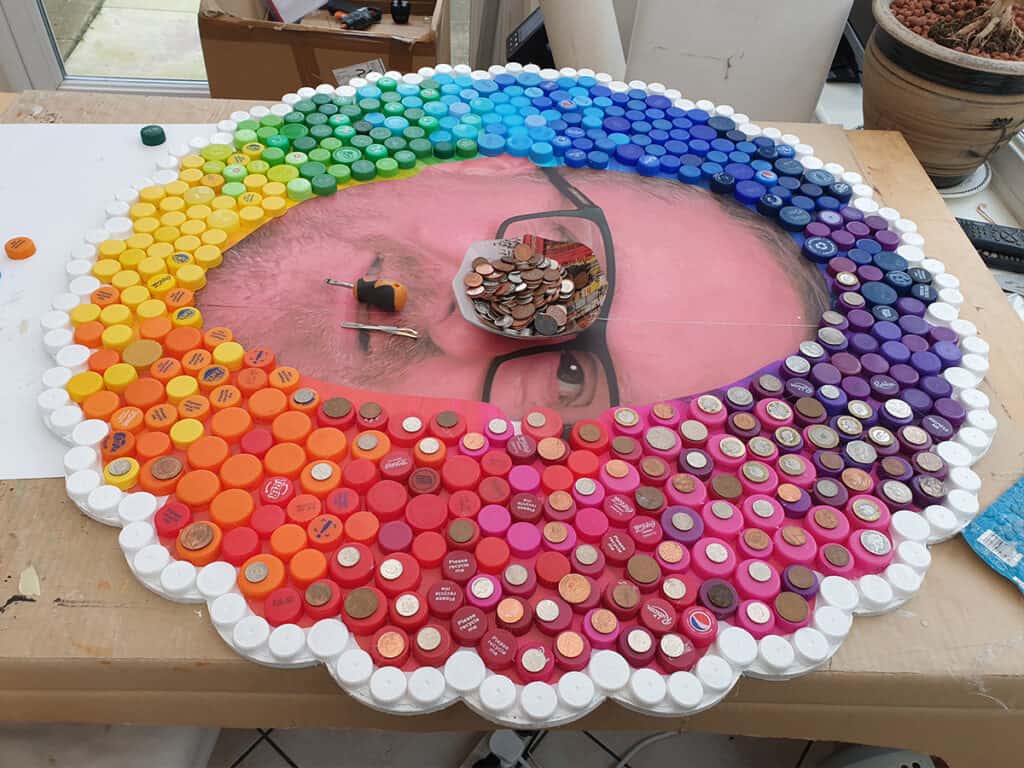
In April 2024 I decided that having my beautiful dog Hera’s face on the artwork would be better than mine, so I printed out her head and glued a bunch more lids into place for the parts that had previously been covered by my head.
Your bottle-cap artwork is a joy to look at! I like using recycled materials in my collages, but I’ve never done anything this large or focused on one type of material. You must have far more patience than I do. Also love the wall. Wallpaper or did you paint all those designs? 😧
This is brilliant. Saw your post in Dull Men on Facebook and had to check your website out. I’m loving it and, as a hobbying craftster myself, am inspired to start collecting some bottle tops…although it may take some years until I have enough to do a tiny project as I mostly drink water 😂 But thank you for sharing, have really enjoyed!